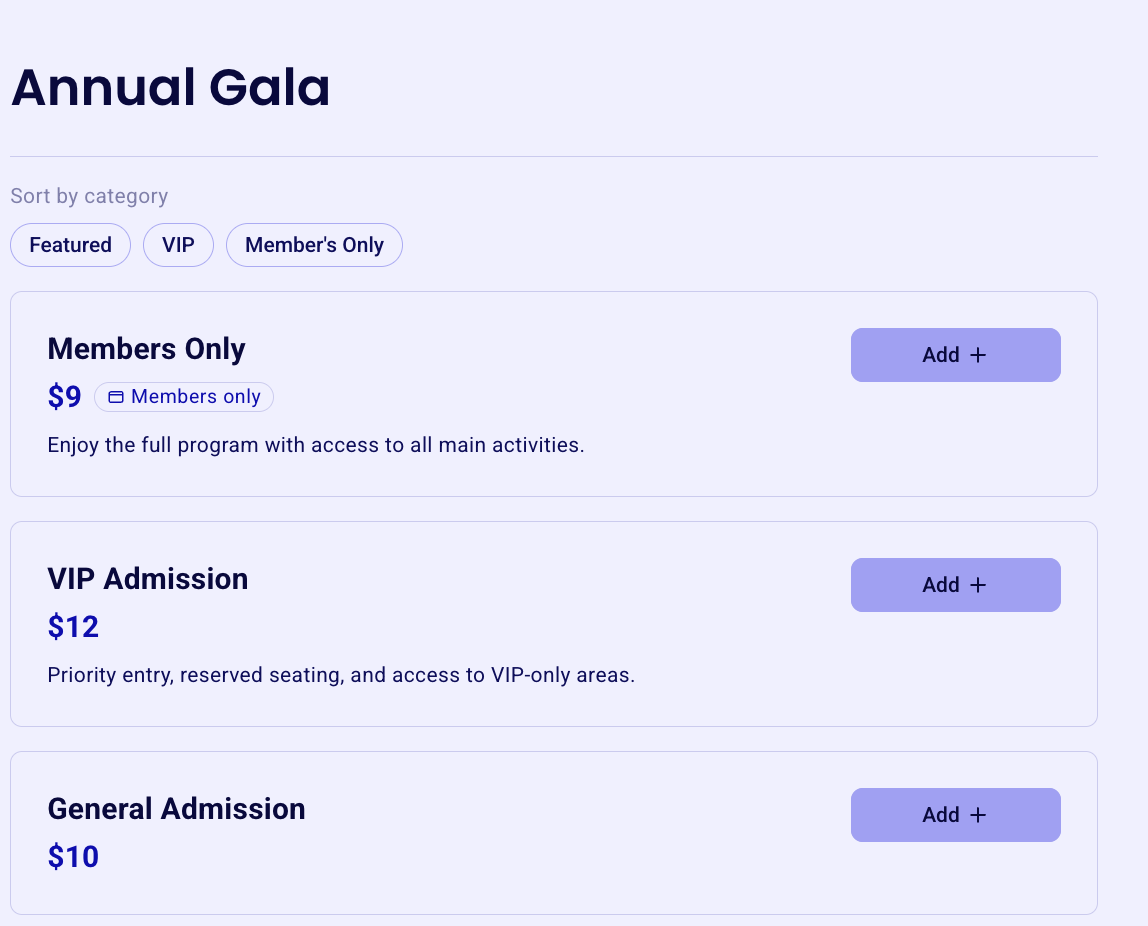
Create categories so buyers can sort your tickets and items
Categories group the tickets, rates, and items on your campaign form so buyers can see only what they're looking for. You can add categories to event, raffle, membership, online store, auction, and custom forms: buyers select a category at the top of the form and the form then shows only the tickets or items in that category.
Add categories to a ticket, rate, or item
Categories are added from the campaign editor, in the section that lists what you're categorizing.
Go to Campaigns and click Edit to the right of the campaign.
Open the section that lists what you want to categorize: Tickets for event and raffle forms, Items for online store, auction, and custom forms, or Membership rates for membership forms.
On the ticket, rate, or item, click Ticket options.
Under Ticket type, toggle on Category(ies).
In the dropdown that appears, select a category you've created before, or click + New category to create one.
If you clicked + New category, enter the category name in the New category window and click Save category. Click + Translation to also add the category name in another language.
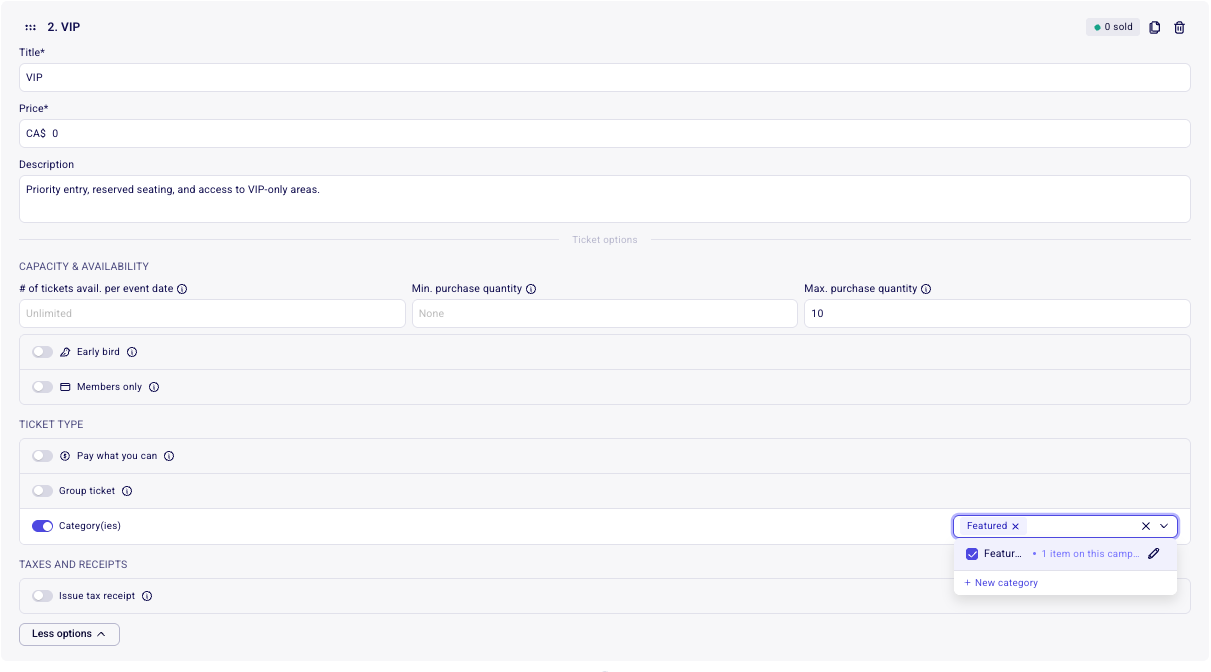
The dropdown lists the categories you've already created, and each entry shows how many tickets or items on this campaign are already in that category.
To remove a category from a ticket or item, click the x on its chip in the dropdown.
Categories are separate from ticket types and rates. Ticket types set the price and availability of what you sell; a category only controls how buyers browse the form. See Offer different ticket tiers and rates.
How buyers use categories
On your published form, buyers pick a category from the Sort by category selector at the top of the form. The form then shows only the tickets or items assigned to that category.