
Add a waitlist to your event
Zeffy doesn't have a built-in waitlist feature for events. The workaround: create a free ticket type named "Waitlist" on your event form, then use the guest list to find and contact those registrants when a spot frees up.
Create the Waitlist ticket
You need to work from your dashboard on a desktop for this.
Log in to your dashboard on a desktop.
Go to Campaigns and click Edit to the right of the form in question.
Go to the step named Tickets.
Click Add another ticket type.
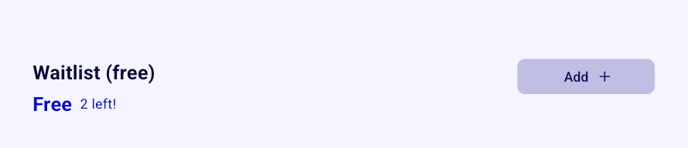
Name the ticket type Waitlist and enter 0 in the price field. A ticket price cannot be left blank, so enter 0 to make it free.
This is how this waitlist will show up on your form!
Contact waitlisted guests when a spot opens
If anybody cancels or your event capacity increases, you can view your waitlist registrants by exporting your sales, then inform them that a spot has been freed up.
Go to Campaigns, click the three dots beside the campaign, and select Manage event.
Open the Guest list tab and filter by the Waitlist ticket type.
Click Export to download the list as Excel or PDF, or use New email to contact the selected guests directly.
For more detail, see Access and download your campaign guest list with answers to questions.
Note that even though the ticket is called "Waitlist," people who go through the form will be included on all communications, including the reminder email.
Keep waitlisted guests out of your communications
If you do not wish to include your waitlisted guests in your communications, create a separate form for your waitlist and link it in the description of your event form. You can copy the separate form's link by going to Campaigns, clicking the three dots beside it, and selecting Share > Copy link.
Related: Schedule ticket availability or add a waitlist to an event also covers early bird and scheduled tickets.