Filtering your event guest lis
Accessing your ticket filters
Login to your Zeffy account and click on Campaigns in the left hand menu.
Click on the three dots to the right of the campaign in question and then on Manage event
Click on the Guest list tab at the top of the event page to access the status or type filters
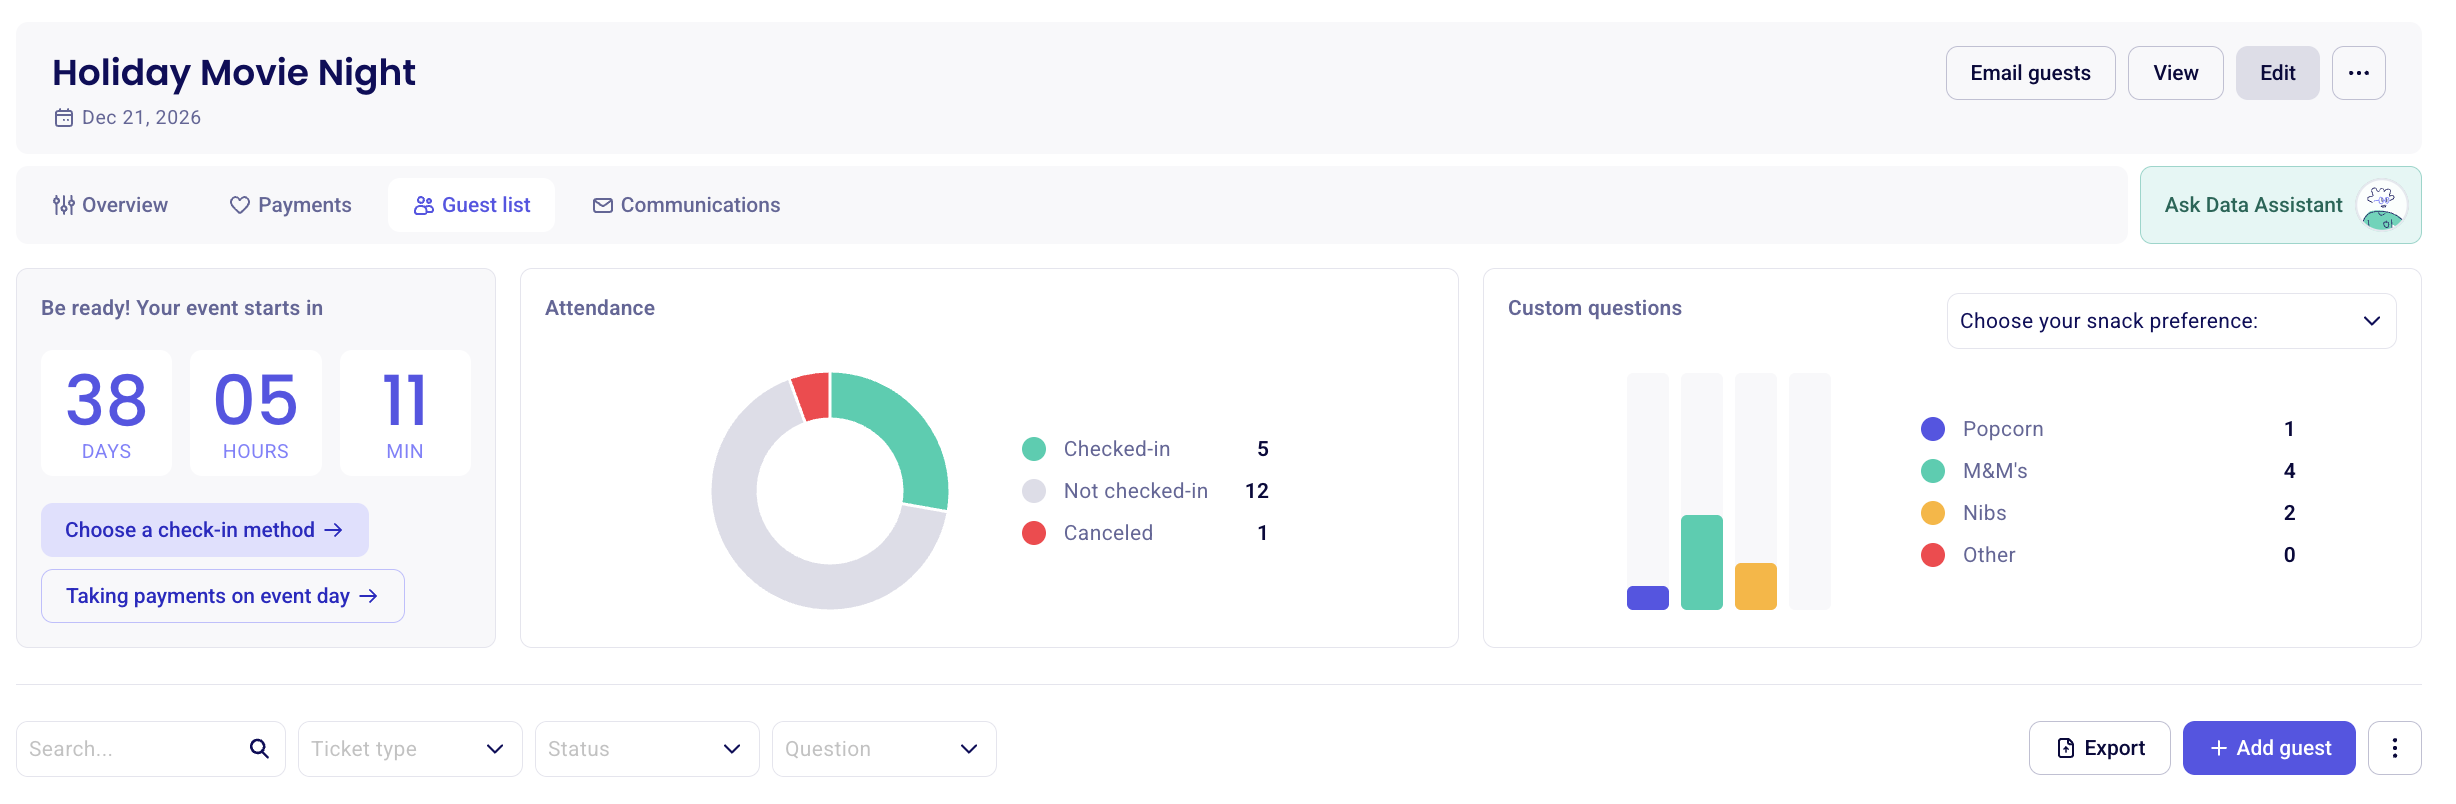
Your guest list will display your list of guests with the following columns:
Guest name
Buyer name
Ticket number
Ticket type
Ticket notes (added internally by the event host)
Status
Guest email
Answers to custom questions
It is possible to add additional columns to your guest list view. Click the three dots to view the Manage columns option to add or remove certain columns from your view. You can drag the columns to re-order them in your view and your view will be saved for your future sessions.
Filtering by ticket status
This filter allows you to filter your tickets according to their latest status. Below is a list of statuses you can filter for and what they mean:
Checked In - The guest has successfully been checked in, either by QR code scanning, the online check-in manager, or manual check-in.
Not Checked In - The ticket has been successfully purchased and the ticket-holder has a valid e-ticket and QR code.
Cancelled - The ticket purchase has been canceled meaning the e-ticket QR code has been voided and the corresponding ticket number has been made available for sale again.

Filtering by ticket type
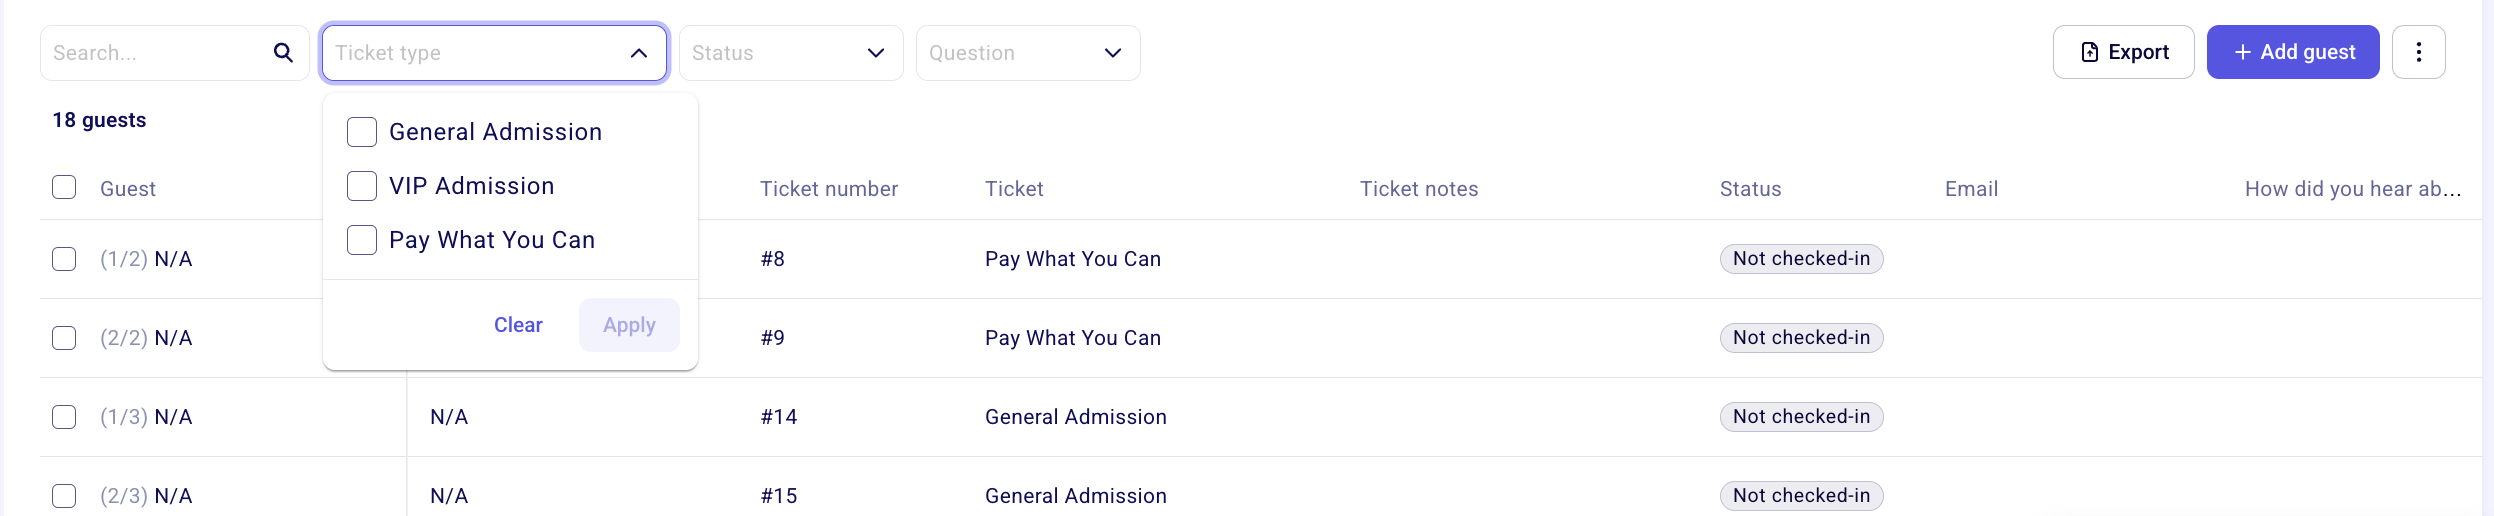
Apply the Ticket type feature to view the list of guests who selected that ticket rate
Exporting or emailing filtered contact
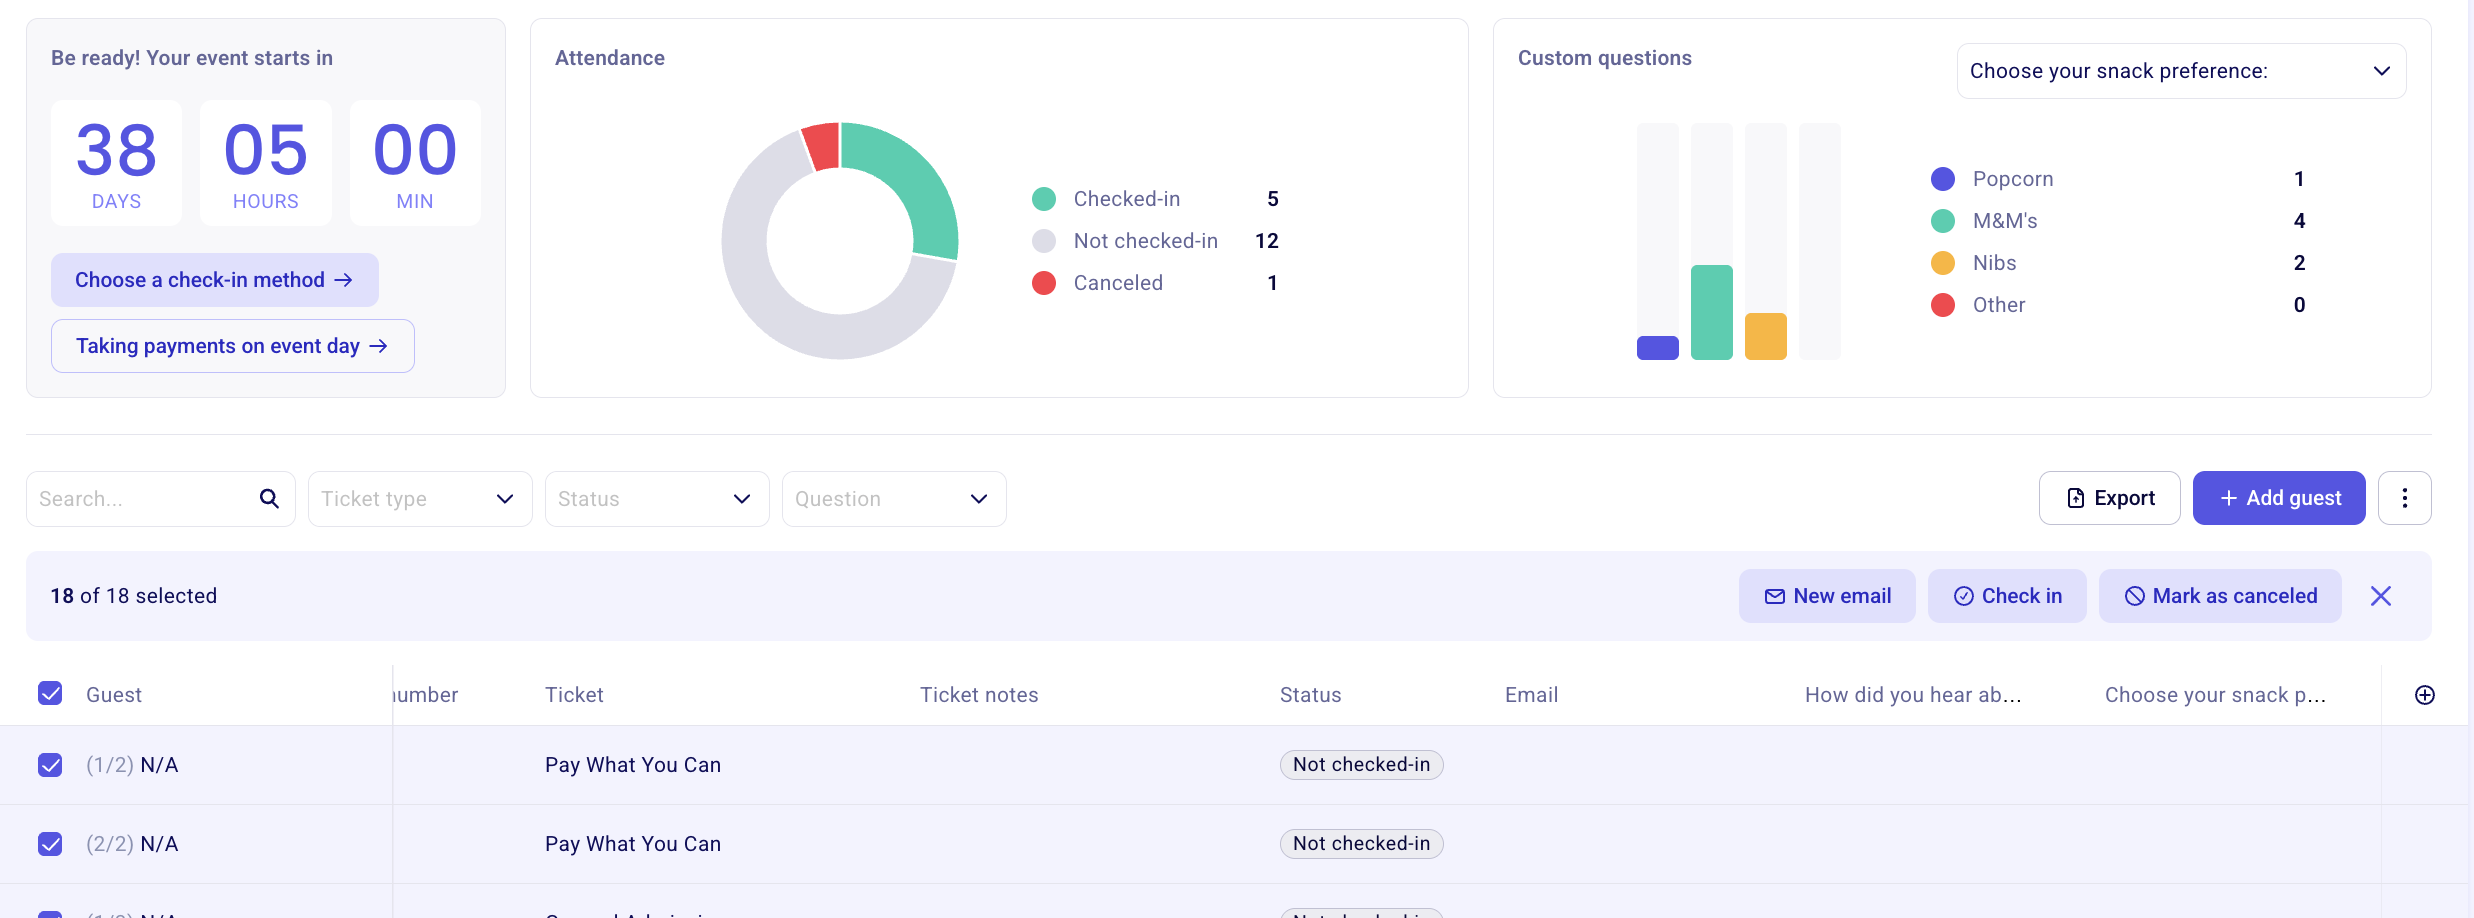
Once you have applied the desired filter(s), use the check-boxed on the left hand side of the tickets to select your tickets.
Export - Clicking on export will allow you to download the filtered list as an .xlsx sheet.
New email - Clicking on "New email" will allow you to email your filtered guests.