
Configure your online store
Step-by-Step Setup Guide
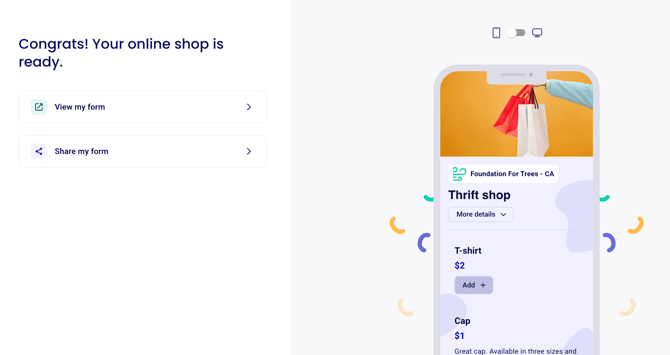
As you build your form, you can preview how it will look to your supporters on both mobile and desktop using the preview panel on the right side of the screen
Start in the "Campaigns" section of your account and click on "+ New campaign" in the top right
Then, select the form type "online shop" to get started
1) Shop Title
Enter your online store form title
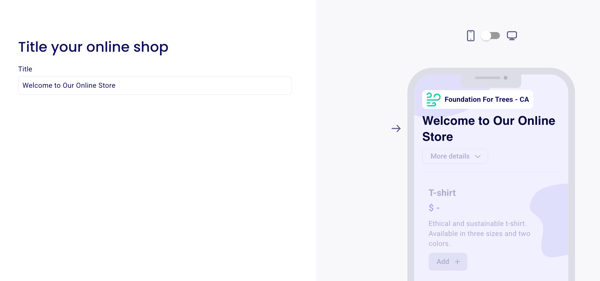
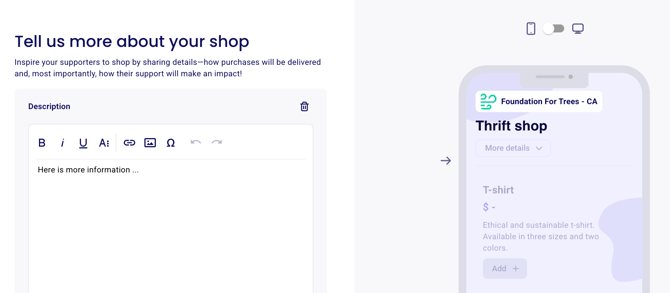
2) Customize Form Description
Add a detailed description of your store
Include key details like your store’s purpose, any important dates (launch, sales, deadlines), and highlight the types of items you’ll be selling.
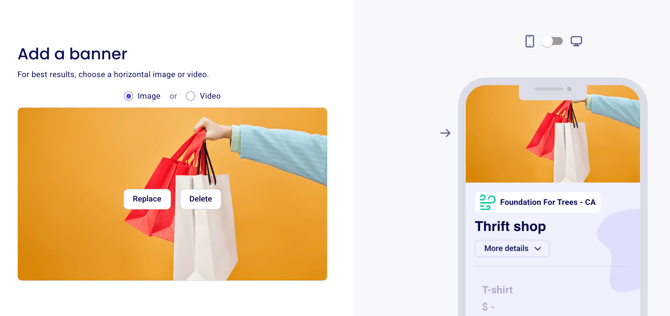
3) Form Design
In the color, banner and logo sections, you'll be able to customize the look of your form.
The color section will allow you to customize the color scheme of your Zeffy form - the color selected will also be the color your e-tickets are generated in
Upload your nonprofit's logo (it will appear in top left corner, next to your organization name) and then your banner (the main image of your form).
4) Order fulfillment
On the order fulfillment step, choose how buyers receive physical items.
Turn on Offer a pick-up address to collect a pick-up location and instructions.
Turn on Offer shipping and enter the shipping cost buyers pay at checkout.
You can enable one option, both, or neither.
Shipping and pick-up are available only on online stores—not on auctions or other campaign types. For checkout delivery choices, fulfillment emails, and the Fulfillments tab, see Set up shipping and pick-up for your online store.

5) Configure items
Add different ticket types:
Indicate the ticket name in the Title section (e.g. General admission, day pass, family pass, etc.)
Set a price for each item
Add descriptions for each item
upload an image of the item
There is a limit of 50 items per online store form.
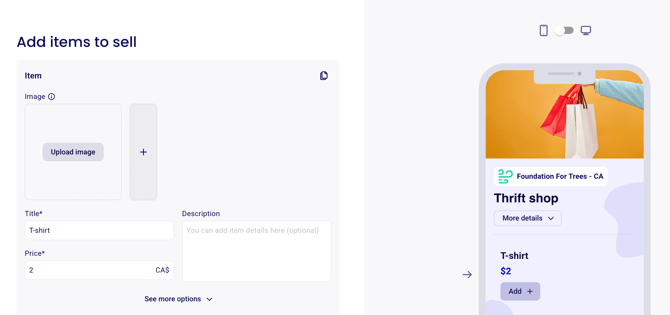
⚠️ More options: Click "See more options" below each item for more options:
Set a total availability: if you have limited quantities of this ticket type, you can set an upper limit for that ticket type.
Maximum purchase quantity: If you'd like to limit how many items can be purchased at once by each buyer, set a maximum purchase quantity
Early bird purchases: if you want to sell some of your tickets at early bird pricing, you can set a date on which this rate will no longer be available for sale.
Add categories: group your items into categories so buyers can filter what they see on the form. See Create categories so buyers can sort your tickets and items.
6) Add product variants
For items that come in different sizes, colors, or other options, use the Variants & inventory section when configuring each item:
Add a variant: Click + Add a variant to create variant types like Size or Color. You can use preset options or create custom variant names.
Manage inventory: Click Manage inventory to set the available quantity for each variant option (e.g., 10 Small, 15 Medium, 8 Large for sizes).
Supporters will be able to select their preferred option, and inventory will automatically decrease as purchases are made.
For detailed instructions on setting up variants, see How to add product variants (sizes, colors) and manage inventory.
7) Per item questions
In the 'Per item questions' section, you can collect information for each individual item purchased. Any questions added here will be asked once for every item bought.
Use this section to ask for additional information about each item, such as:
Engraving text or personalization details
Gift wrapping preferences
Special requests or notes
Choose response formats (single select, multiple choice, checkbox, etc.)
Set whether questions apply to all item types or specific ones
Make questions required if needed
Questions vs. Variants
Use Variants & inventory (not Questions) for options that affect inventory, such as sizes, colors, or other product options with limited quantities. Questions are for collecting information and should not be used for inventory management.
8) Collect Buyer Information
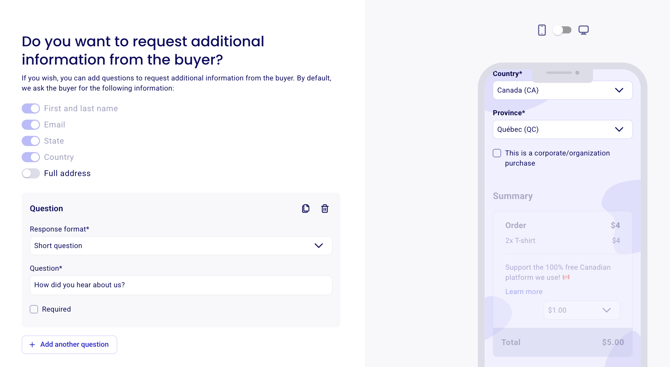
Per buyer questions: These questions are asked once per purchase. By default, the buyer will be asked for first and last name, Email, State/Province, and Country. Add a Full address question when you need a complete delivery address for shipping or pick-up.
9) Collect Additional Donations
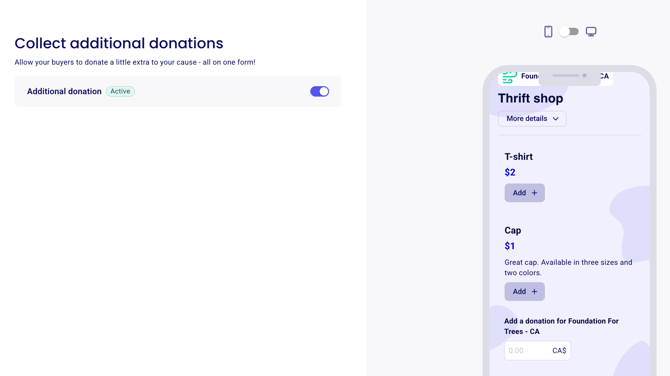
You can activate the option for buyers to add a donation to your organization and to generate a receipt for the additional donation if your account is configured to do so.
10) Add Discount Codes
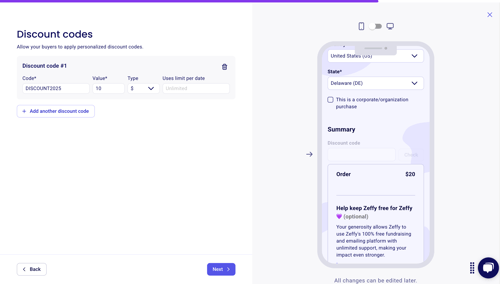
Add discount codes with specific values and usage limits.
"Uses limit per date": If you are hosting an event with multiple dates and times, the code can be used the number of times indicated for each event occurrence. If you are hosting a single date event, the "per date" specification does not apply.
11) Customize automated emails
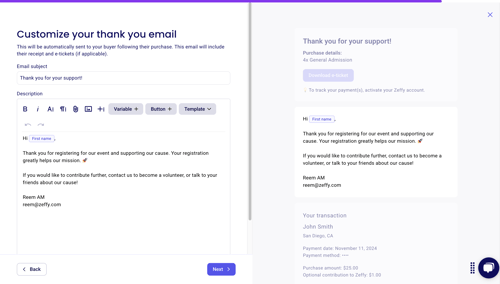
When a buyer completes their purchase, they are sent a confirmation email with their transaction receipt and a thank you message which you can customize in your form editor.
Configure the Thank you email with a custom subject line and content, variables for personalization, buttons linking to other forms or campaigns, and image attachments.
If you offer pick-up or shipping, also turn on and customize the Ready for pick-up email and the Order shipped email.
For delivery method setup and managing orders after checkout, see Set up shipping and pick-up for your online store.
12) Advanced Settings
Add a campaign target thermometer to share your progress of your raffle sales
Enable check payments for amounts over $1,000
Set up notification emails for multiple team members
Set an automatic sales open and/or close date under "Campaign display options". See How to set an automatic sales open and close date or close ticket sales manually.
Enable form translation (Spanish for US, French for Canada)
13) Share your online store
Once your form configuration has been finalized and you're ready for it to be publicized, you'll be able to share it with your community. To learn how to share your form, consult the instructions here: Sharing your Zeffy form.
To remove or hide an item after your store is live, see Delete or hide an online store item.