
Customizing your landing page
Customize the look and feel of your landing page from the page editor. You can change your page title and web address, logo, colors, banner, and choose which campaigns and information to display.
Open the landing page editor
Access the editor through your Campaigns dashboard to make any branding or content changes.
Go to Campaigns in your dashboard.
Click Landing page in the top right.
On your landing page, click the banner at the top to open the editor. This banner only appears when you are logged in.
Change your page title and URL
Set the title your landing page displays and the web address supporters use to reach it.
Select Page title and URL from the Jump to edit… menu.
Under Page title, enter the title that appears on your landing page.
Under Page URL, edit the last part of the address. The address always keeps the same Zeffy prefix, which ends in organizations.
Traffic to all of your previous URLs is automatically redirected to the new one, so links you have already shared keep working. You can edit your URL up to three times.
Update your page style
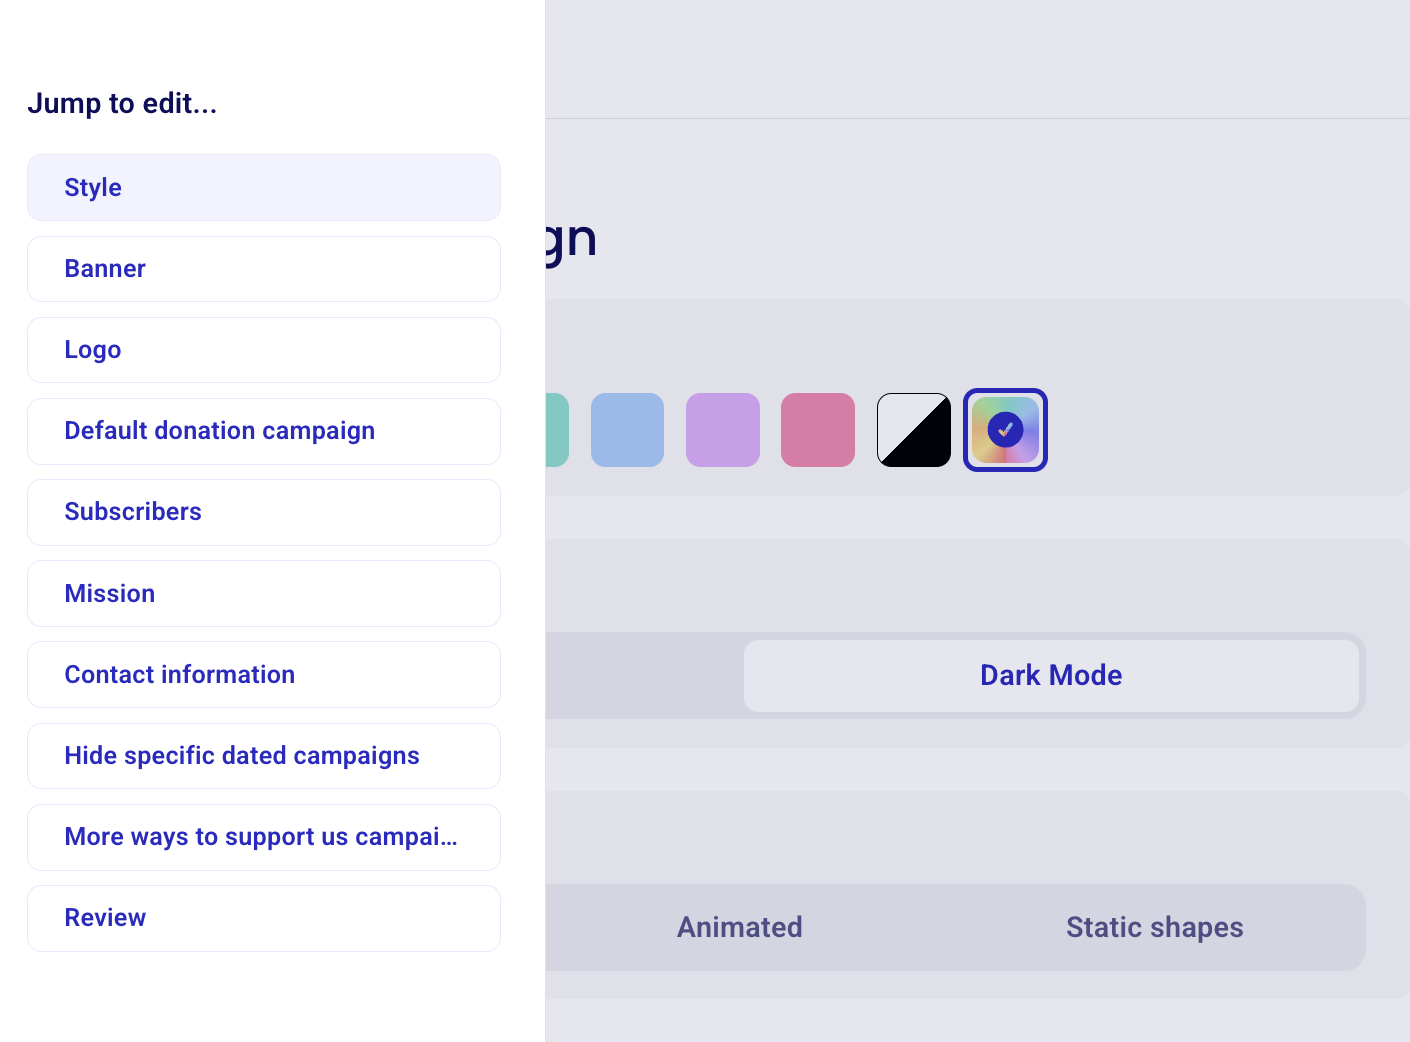
Choose a color theme, toggle dark mode, and set animation preferences from the Style section.
Select Style from the Jump to edit… menu.
Pick a color swatch, turn Dark Mode on or off, and choose between Animated or Static shapes.
Change your banner or logo
Replace the logo or banner image that appears on your landing page from the editor menu.
In the editor, select Logo or Banner from the Jump to edit… menu on the left.
Upload or change your image.
For the banner, we recommend an image size of 1440 × 354 pixels (approximately a 4:1 aspect ratio). For best results, use a wide banner image with similar proportions. Images with a different aspect ratio may be cropped or resized.
Manage the Donate and Subscribe buttons
Choose which forms your Donate and Subscribe buttons link to, and hide either button, from a single editor step.
Select Donate/Subscribe buttons from the Jump to edit… menu.
On the Donate card, pick the donation form behind the button. On the Subscribe card, pick the form supporters use to subscribe.
Turn a button's toggle off to hide that button from your page. When both toggles are off, the button area is not shown at all.
The Donate toggle is unavailable until your organization has a live donation form. A button marked Active is currently shown on your page.
Other customization options
Mission - Your organization's mission statement.
Contact information - The email shown at the bottom of the page.
Hide specific dated campaigns - By default, the page shows all event campaigns with future dates. Use this option to hide specific events from the page.
More ways to support us campaigns - Feature other non-event campaigns, such as peer-to-peer fundraisers, online stores, or custom sales forms.
Review and publish
When you are finished, select Review from the menu to check your changes before making the page public. You can publish or unpublish the landing page at any time using the Publish or Unpublish button in the banner at the top of your landing page when you are logged in as your organization. Your page also publishes itself once your organization reaches 10 payments or 2 live forms, and we email you a preview when it does. For details, see Create your landing page.