
Importing contacts into Zeffy
Import your contact list into Zeffy by uploading a spreadsheet, pasting email addresses, or importing directly from Mailchimp.
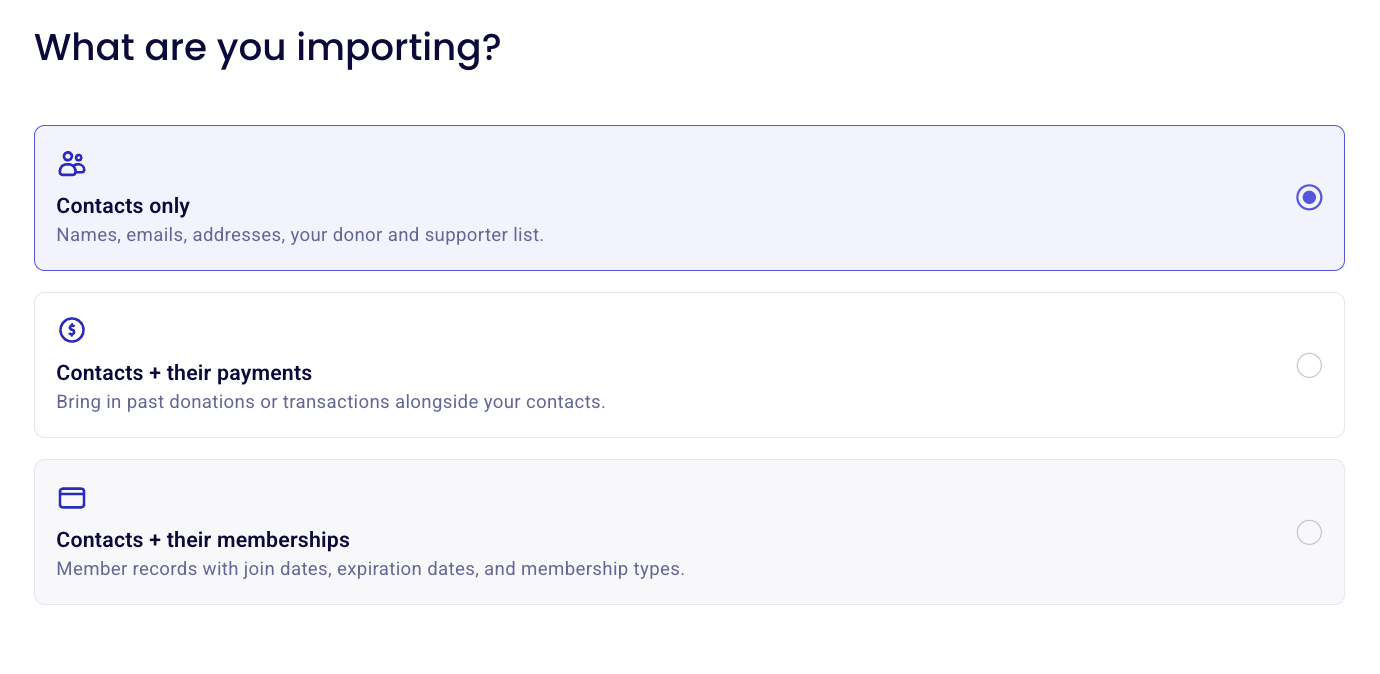
A payment import also brings in the contact data attached to those payments. Use the steps in this article when you only want to import contact information, and see Importing historical payments into Zeffy to import payments.
Before you import
These rules decide how your data lands in Zeffy:
Email is the primary identifier of a contact. Each email address creates one unique contact. If the same person uses multiple email addresses to complete transactions, each email becomes its own contact.
Secondary emails have their own column. Use the Secondary Email column for a contact's second address instead of creating a duplicate contact. You will also have the opportunity to merge duplicate contact profiles later.
Nothing is mandatory. You can import contacts without an email address and manage them from their contact page. Payments can't be matched to them automatically during an import, so add payments to those contacts manually on their contact page.
Custom properties can't be imported. Columns in your spreadsheet that don't map to a Zeffy field are not imported.
A single file can contain up to 5000 contact records. Split larger spreadsheets into multiple files.
Start a contact import
Log in to Zeffy and go to Contacts.
Click Import.
Click New import.
Select Contacts when asked what you are importing.

Choose how to import
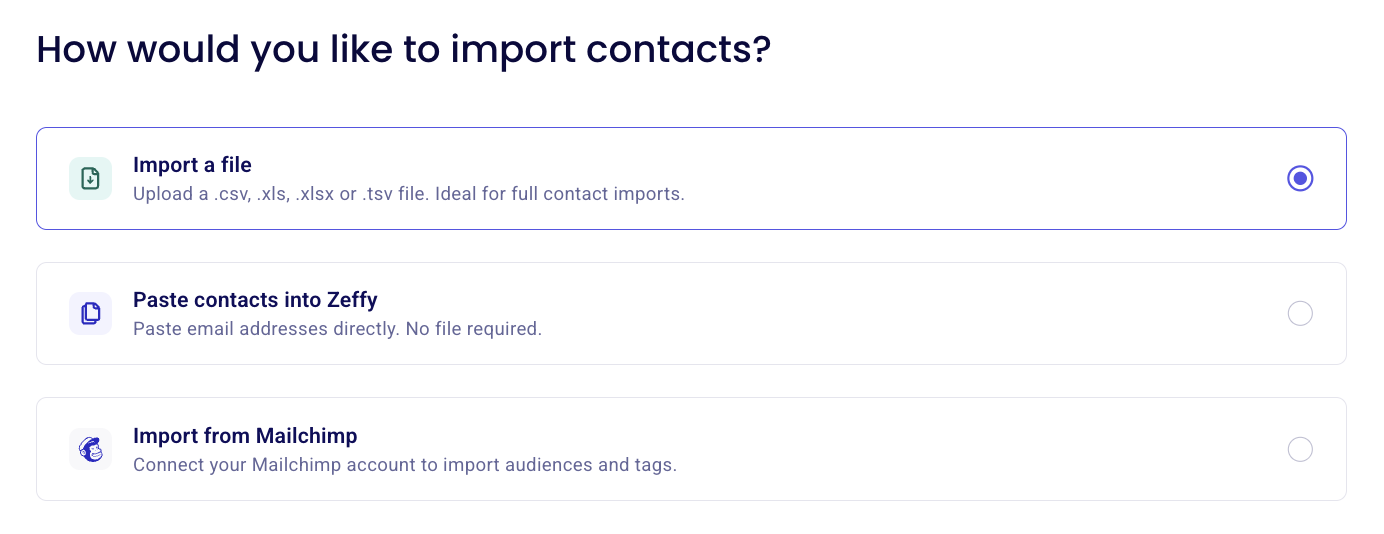
Pick one of three methods:
Import a file for full control over every field you bring over.
Paste contacts to import email addresses only, with no file.
Import from Mailchimp to bring over your Mailchimp contacts and their segment lists through the direct integration.
Import contacts with a file
Use this method when you have a spreadsheet with names, contact details, or list assignments.
On the import screen, select Import a file.
Download the contact import template from the import screen (click "Download template") and fill it in, or prepare your own spreadsheet with columns that match Zeffy's fields.
Click Select a file and choose your .xls or .csv file.
Wait while Zeffy checks your file. Fix any formatting errors it flags before you continue.
Review the mapped fields: each of your file columns is listed next to the Zeffy field it maps to, with sample data from your file. Columns in the template are pre-mapped automatically, so review custom column names closely.
Launch the import. Zeffy analyzes the file for typos and missing fields, then confirms how many contacts are ready to import.
When the import finishes, open Contacts to review your new contacts.
Every imported contact is automatically added to a list named with the import date. Filter by that list to review exactly who arrived in the batch.
Contact import template fields
Map your spreadsheet columns to these Zeffy fields:
Field | Notes |
|---|---|
First Name | Keep first name in separate columns. Zeffy can't split combined name data after upload. |
Last Name | Keep last name in separate columns. Zeffy can't split combined name data after upload. |
Primary identifier for a contact. Use one email per contact. | |
Secondary Email | A contact's secondary email address if applicable. |
Language | Supported values: EN, FR, or ES. |
Address | Street number and name. |
City | City name. |
Region | Province, state or region. |
Postal Code | Postal code, zip code, postcode, etc. |
Country | Country code only (e.g. CA, US, UK, AU, IR, etc.) |
Phone | Contact phone number. |
Lists | Comma-separate multiple list names to add a contact to more than one list. Name lists here to add imported contacts to lists that already exist in Zeffy. |
Contact Note | Open text that appears on the contact page, unique to each contact. Use it for specific information you want to keep about a contact. |
Company Name | Company or organization the contact belongs to. |
Household Name | Groups contacts who belong to the same household, so you can view everyone in a family together. |
Subscription Status | Supports only subscribed or unsubscribed. |
Update existing contacts with a re-import
Re-importing is the fastest way to add data, such as lists, phone numbers, or addresses, to contacts that already exist in Zeffy. Make sure the Email column matches the email already on the contact, then fill in the new information. When the import runs, the re-imported values overwrite what is already in those fields.
For example, if you originally imported contacts with only their names and email addresses, you can re-import the same emails with phone numbers added, and Zeffy fills in the phone numbers on the existing contacts.
If a contact was imported without an email address, you can manually edit their contact profile, or import new contact details and merge their contact profiles. To merge two contract profiles, go to Contacts and click the "Actions" button to view the "Merge contact" option.
Paste email addresses into Zeffy
Use Paste contacts when you only need email addresses in Zeffy, for example to email a group of people from the platform. No file is required, and only email addresses are imported. Add other contact details later on each contact profile.
Import contacts from Mailchimp
Select Import from Mailchimp to bring your Mailchimp contacts and their segment lists into Zeffy through the direct integration. For a full migration, see How to switch from Mailchimp to Zeffy.
Add one or two contacts manually
For a single contact or a small handful, click New contact on the Contacts page and fill in their details. Click a contact's name at any time to edit their profile.
Undo an import or delete imported data
To delete an entire import:
Go to Import
Open Import history
Click Delete next to the import you want to remove. For more detail, see How to delete or undo a data import.
To delete an individual contact:
Go to Contacts
Click on the contact name to open their profile
Select Actions to view the option to Delete a contact
What to do next
How imported data will appear in Zeffy: where your contacts show up and how duplicates are handled.
Managing and editing contacts: review and clean up your newly imported contacts.
Create lists and segments: organize your contacts into targeted groups.
Send emails to contacts: reach out to specific contacts or audiences.