
Manual payment or registration entries to log cash, check or other offline payments
Adding a manual payment
Watch the tutorial or keep reading for the steps to follow
Log into your Zeffy dashboard on a computer.
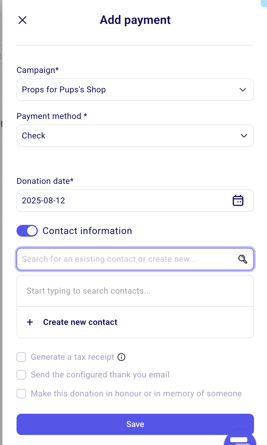
Click on Payments in the left-hand side menu bar. At the top, righthand side of the page, click on "Add payment".
You will be able to associate the payment with a specific form.
If you are associating the payment with a donation form, donation campaign, or peer-to-peer form:
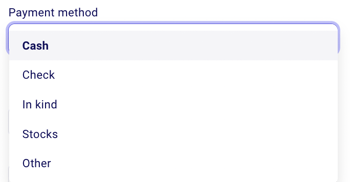
Enter the donation amount and select the payment method that applies:
Select the contact associated with the payment. You can either:
Search for and select an existing contact already in your account
Or create a new contact manually if one does not yet exist. If creating a new contact, you’ll be asked to enter the donor’s name and email address.

At the bottom of the window, you can check the options "Generate a Tax Receipt" and "Send email to contact". You can check either one or both, depending on the context.
➡️ Check the option to generate a tax receipt to have one generated for this donor.
➡️ Check the option "send an email to contact" to have the thank you email, thank you message, tax receipt and confirmation to be sent to me.
If the Generate tax receipt option does not appear, it may mean your organization is not currently set up to issue tax receipts. Head to Settings and verify that the correct organization type has been selected for your account.
Please also note that manual donation entries will be reflected in the total $ raised column in your campaigns.
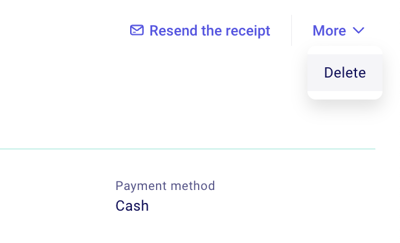
If you make a mistake, you can always delete a manual entry
Go to Payments and click on the manual entry and a page should pop up to the right.
Click on the "more" in the top right-hand corner of the page and on "delete."
If you are manually generating an event ticket, raffle ticket, membership or e-commerce order:
Select the payment rate that you would like to manually add.

Select the payment method that applies.
Enter your buyers' contact information.You can easily find an existing contact by searching their name or email address, or create a new contact record if they're not already in your list.
You can then check if it is a corporate/organizational donation, and note the name of the business!
At the bottom of the window, you can check the option "send email to contact" box. This will ensure that your buyer will automatically receive their confirmation email with the tickets for your event. ➡️ This option will only show if you have added a valid email address for this buyer.
⚠️ Important:
Please also note that manual donation entries will be reflected in the total $ raised column in "my forms."
If you want this ticket to be a free entry, make sure to select "Free" as the payment method:
In the payment method dropdown, select "Free".
The payment value will automatically be set to zero – no amount will be recorded for this order.
Complete the contact information and check "Send email to contact" if you want the buyer to receive their tickets.
Click Save.
Use the "Free" payment method when you want to give someone a complimentary ticket without any payment.