
Add custom properties to contacts
Custom properties let you store additional information about your contacts beyond the standard fields like name and email. Once created, these properties appear on every contact in your database and can also be reused as questions on your fundraising forms.
Add a custom property from a contact's profile
Go to Contacts in your Zeffy dashboard.
Click on any contact to open their profile.
Click the pencil icon next to "Contact details."
Click Manage contact properties.
Click Add new custom property.
Choose the Format for your property:
Text — For short text answers
Number — For numeric values
Phone number — For phone numbers with proper formatting
Email — For email addresses
Date — For date values
Yes/No — For simple boolean answers
Single-select — For choosing one option from a dropdown
Multi-select — For choosing multiple options
Enter a name for your property and click Save.
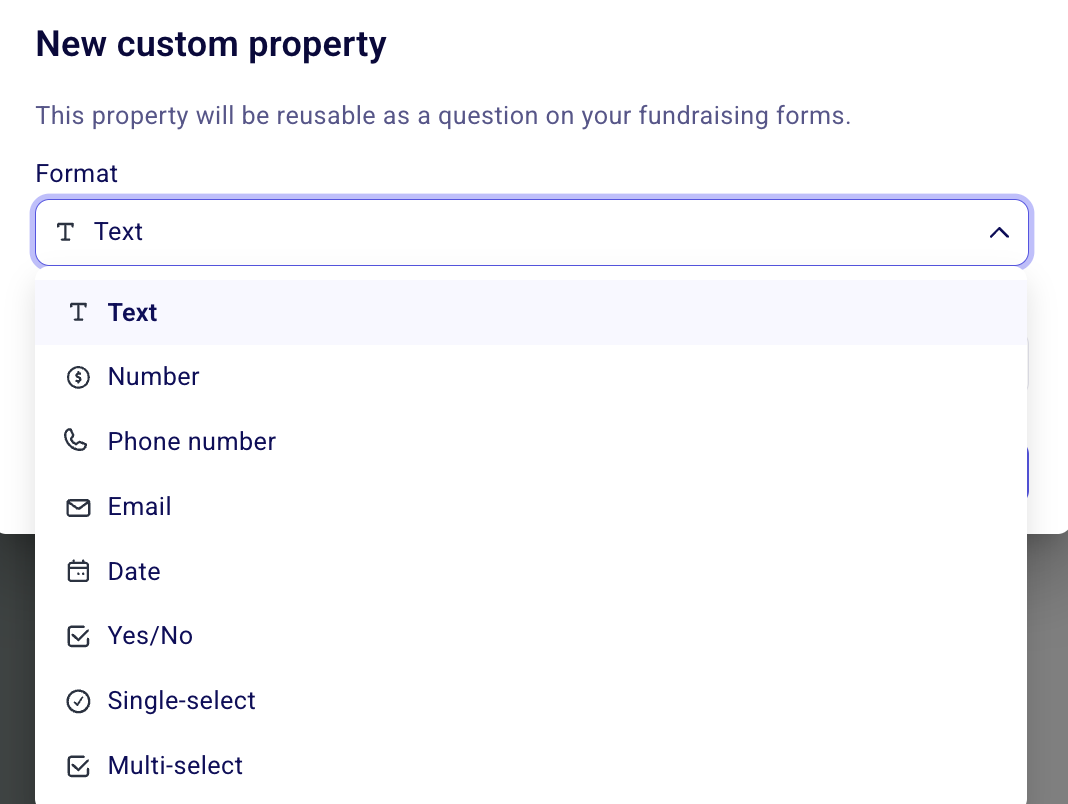
The property format dropdown lets you choose the right type for your custom field.
Your new custom property will appear on all contacts in your database, ready for you to fill in manually or collect through forms.
How custom properties and custom questions work together
Custom properties you create from the contact management interface are the same custom properties used when you add buyer questions to your fundraising forms. This means:
From forms: When you add a custom buyer question to a campaign form, the answer is automatically saved to the buyer's contact profile under that property.
From contacts: When you create a custom property from a contact's profile, that property becomes available as a reusable question on any of your fundraising forms.
This two-way connection allows you to collect information from donors and buyers through forms while also manually tracking additional details from within your contact database.
Custom contact properties are being released progressively. If you don't see this feature in your account yet, it will become available soon.
Export contacts with custom fields
Go to Contacts.
Click Export in the top right corner.
Choose whether to export all contacts or only selected contacts.
Download the export file, which will include columns for each custom property.
Related resources
Custom questions and custom contact fields — Learn how answers from forms map to contact profiles
Ask additional custom questions to donors and buyers — Set up custom questions on your campaign forms