
Get Started With the Zeffy API
This guide walks you through getting set up. For full technical details on every endpoint, field, and parameter, visit the Zeffy API documentation.
For full technical details, please see the API Documentation
What can you do with the API?
The Zeffy API gives you read access to three core areas of your account:
Payments — Pull a list of all your transactions or look up a specific payment. Filter by currency, status, type (online, manual, or imported), contact, campaign, or date range. Each payment includes line items, refund details, buyer info, and a link to the tax receipt.
Contacts — Retrieve your full donor and supporter list, or look up a specific person by ID or email. Each contact includes giving history, total contributions, address, and communication preferences.
Campaigns — Access your donation forms, events, and other campaign types. See titles, descriptions, goals, dates, occurrences, and how much has been raised.
A few examples of what organizations use this for
Syncing new donations to an accounting system like QuickBooks or Xero in real time
Keeping a CRM like Salesforce or HubSpot up to date with the latest donor information
Building custom dashboards or reports that combine Zeffy data with data from other sources
Automating thank-you workflows or internal notifications when a payment is received
Who can access the API?
Only admins can generate API keys. If you're an organization member without admin permissions, you'll need to ask your organization's admin to set this up.
Organizations on Zeffy only have one admin, if you would like to transfer the admin status to another member of your account, use the steps outlined in this article.
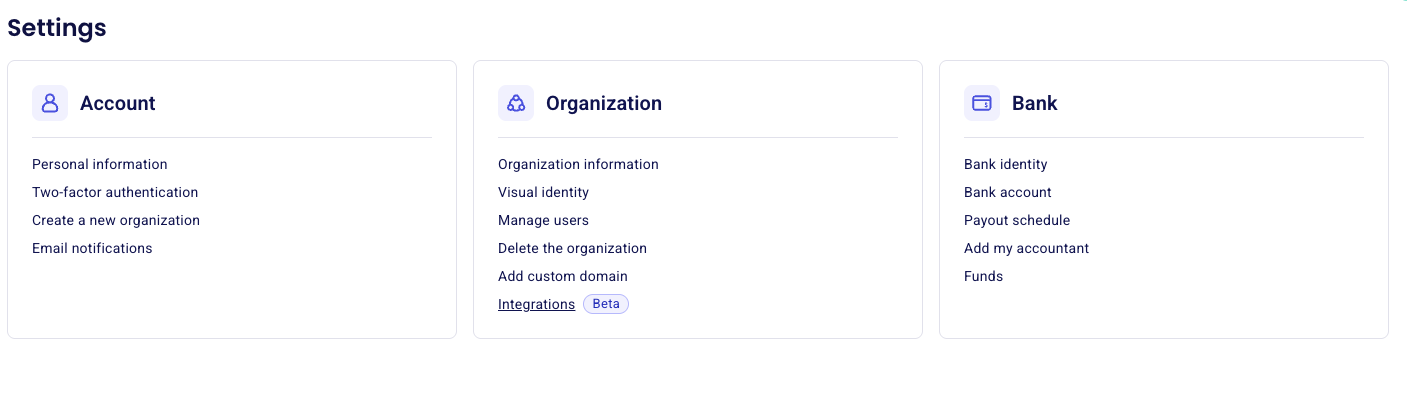
How to get your API key
Log in to your Zeffy account and go to Settings → Integrations.
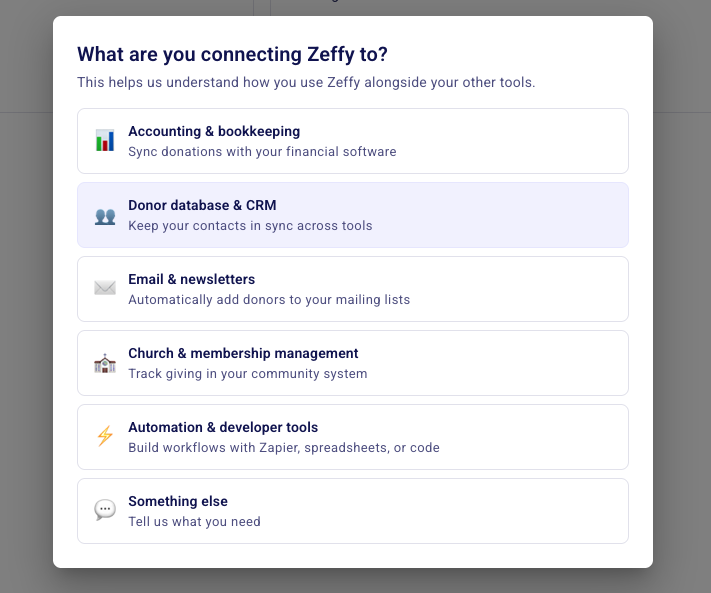
In the Integrations section, you'll find the option to generate an API key. We'll ask you a few questions first, to help us understand your needs.
Choose what type of connection you are looking to make (API or Webhook), and generate your key. Copy your key and store it somewhere safe. You'll use it to authenticate every request you make to the API.
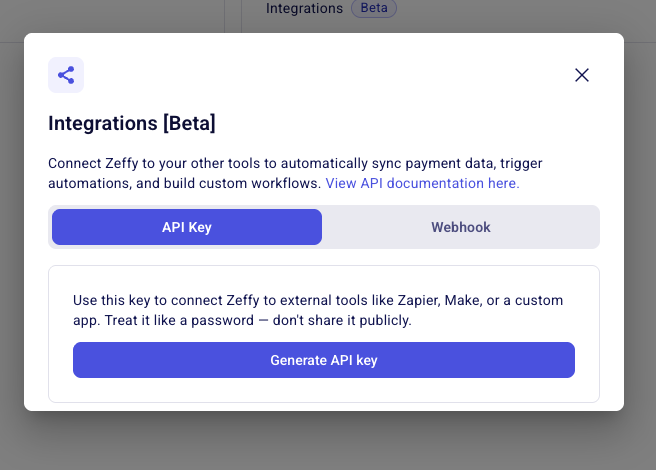
Important: Treat your API key like a password. Don't share it publicly or include it in client-side code. Anyone with your key can read your organization's data.
Making your first request
Every API request needs your key in the Authorization header, formatted as a Bearer token. Here's what a request looks like:
GET https://api.zeffy.com/api/v1/payments
Authorization: Bearer YOUR_API_KEY
This returns a paginated list of your payments. By default, you'll get 10 results at a time (you can request up to 100).
Pagination
The API uses cursor-based pagination. Each list response includes a has_more field that tells you whether there are more results, and a next_cursor value you can pass as the starting_after parameter to get the next page.
Filtering
Most list endpoints support filters so you can narrow down results. For payments, you can filter by:
currency—cadorusdstatus—succeeded,failed, orpendingtype—online,manual, orimportedcontact— a specific contact IDcampaign— a specific campaign IDcreated[gte],created[lte], etc. — date ranges using Unix timestamps
Contacts support filtering by email and by created or updated date ranges. Campaigns support created date filters.
Setting up Webhooks
If you want to be notified when something happens rather than checking the API repeatedly, webhooks are the way to go. This allows you to set up a URL that will receive events that happen in your Zeffy account - which allows you to automate tasks in other tools, based on your fundraising activity.
To set up a webhook:
In Settings → Integrations, you'll find the option to configure a webhook URL.
Enter the URL where you'd like to receive notifications.
When a payment is completed, Zeffy sends a POST request to your URL with the full payment details.
The webhook payload includes an event type (payment.completed), a timestamp, and the complete payment object.
Your endpoint needs to respond with a 2xx status code to confirm receipt. If it doesn't, Zeffy will retry the delivery.
Response codes
Here's what the different status codes mean when you're working with the API:
200 — Your request was successful.
400 — Something was wrong with your query parameters. Double-check your filters and formatting.
401 — Your API key is missing or invalid. Make sure you're including it in the Authorization header.
404 — The resource you're looking for doesn't exist. Check the ID you're using.
429 — You've hit the rate limit. Slow down your requests and try again shortly.
What about Zapier?
If you're already using Zapier to connect Zeffy with other tools, that still works. The API is a great option if you need more control, want to build a custom integration, or are working with a developer who can set something up tailored to your needs. Zapier is still the simplest path if you don't have technical resources and want to connect Zeffy to tools like Google Sheets, Slack, or Mailchimp.
Next steps
Full API documentation — Detailed reference for every endpoint, parameter, and response field.
If you have questions or need help getting set up, reach out to our support team. We're here for you.