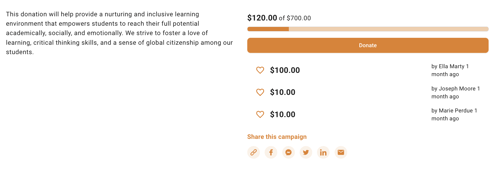
Our donation campaigns are an online fundraising tool that allows you to receive donations. Unlike donation forms, donation campaigns will showcase a thermometer as well as a visible list of contributors, allowing your donors to track progress towards the targeted donation goal.
- Log into your Zeffy dashboard on a computer.
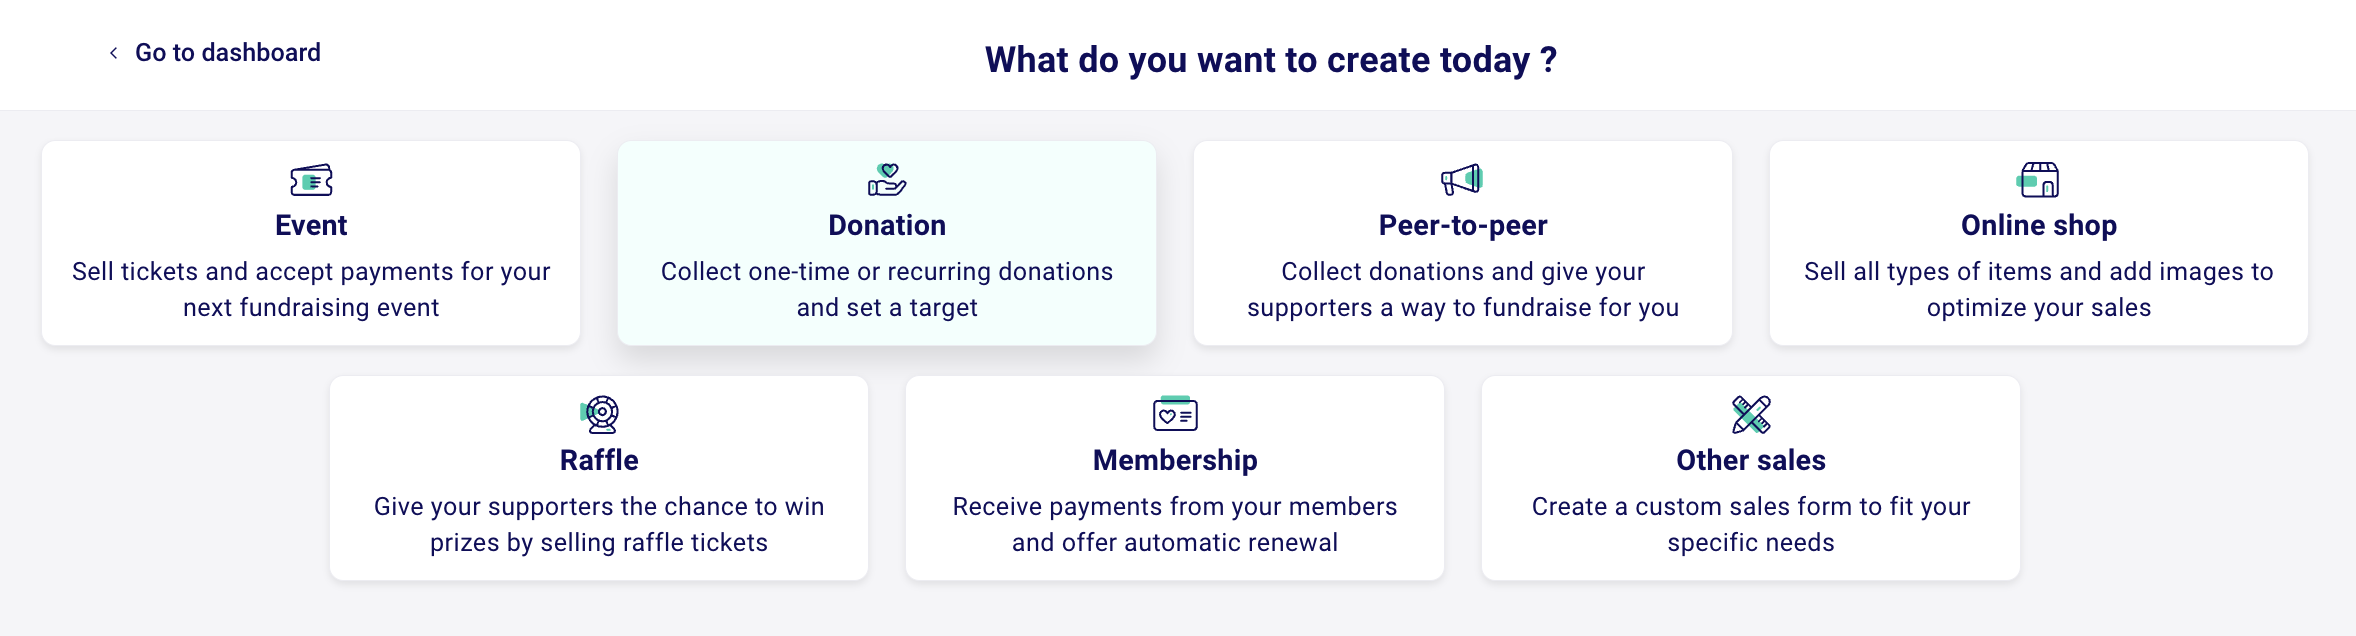
- Click on "My forms" in the menu bar on the left. Click on "+ New form" and select the Donation option
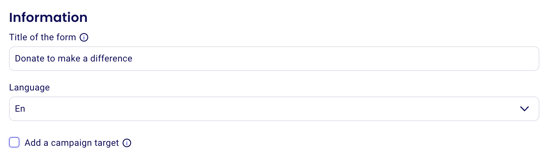
1) Add your general information
- Add a title, select your language, and add a description for your donors about your non-profit or what the donation will be used for.
❗Make sure to check the option "add a campaign target." This is what will make your form a donation campaign.
- Set your donation campaign objective. This will add a thermometer to your form where donors can see how close you are to your campaign objective and who has donated!
- Click on "Next" at the top right-hand corner of the page.
2) Customize your donation campaign
- You are now in the "Create your form" section of the page.
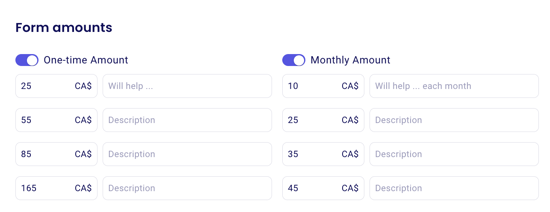
- You can customize the pre-suggested donation amounts and add a description next to each amount.💡 Please note: All our forms will also have an open field where donors can enter the amount of their choice!
- You can also turn on or off either one-Time or Monthly donations
- Turn on automatic tax receipt generation if you want a tax receipt to automatically be generated when a donor makes a donation. ➡️ Don't see this option? Your account might not be set up correctly (learn more here)

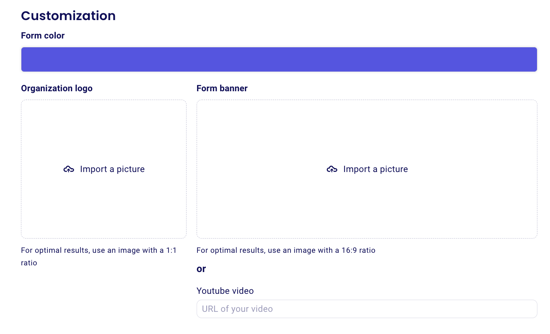
- Add your logo, an image or a video link to customize the look of your form!
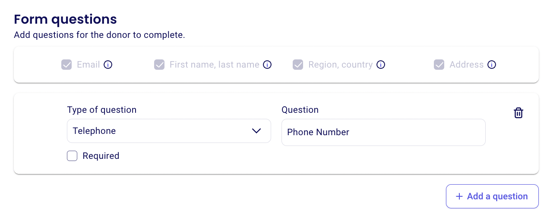
- Add custom questions to your donors!
- Customize the thank you email to your donors that they receive when they make a donation.

Click on "Create" in the top right of this page once you're done with this section. This will finalize the creation of your form and will save it in your dashboard so that you can go back and edit it. If you don't click on create, your edits and creation will be lost.
3) Advanced Settings
- In your advanced settings, you can:
- Activate an "in honour or in memory of" donation option
- Enable paying by cheque for payments above 500$.
- Add your email in the notification field so that you can be notified each time somebody makes a donation on your form.

Note that your donors will be given the option to make their donation "anonymous" if they do not wish for their full name to appear on the public donor list. If they select the option to give anonymously, only the first letter of their last name will appear next to the amount.
4) Sharing your form
Once your form configuration has been finalized and you're ready for it to be publicized, you'll be able to share it with your community. To learn how to share your form, consult the instructions here: Sharing your Zeffy form.