If you need to cancel an event on Zeffy, follow these steps to manage the process effectively:
Close Your Form
It is important to close your form once you are aware your event will no longer be taking place to ensure no new ticket sales are made.
-
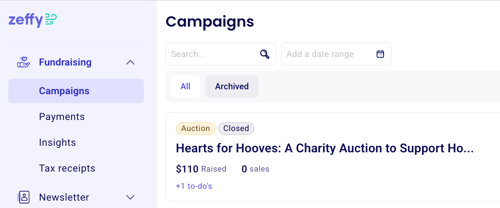
- Go to fundraising > campaigns
- Click on the three dots to the right of the form you want to close.
- Click on the option "close sales.”

❗It is important to be aware that closing your ticket sales does not prevent additional donations if you have enabled them on your event form. In order to close ticket sales AND donations you need to close your sales, and then archive your form. Scroll down to the last section of the article, 'Archiving Your Form' to see how!
Notifying Attendees
After you have closed sales you will want to let all your attendees know your event will no longer be taking place. You have the option to send a mass email to all attendees at once directly from your dashboard!
To draft the email, simply:
- Go to "newsletter" > "contacts" in your account
- Select 'New email' and draft the contents on your email. Draft a clear and concise email informing attendees of the event cancellation. You might find it helpful to include details about the refund process, if you will be issuing any, and any other pertinent information you need to share. Once ready to proceed, click on next to select your recipients.
- Filter for your attendees by entering the name of the event form and selecting it, such as 'Zeffy Gala 2024' as shown. Click 'Apply' to add the attendees as recipients.

Processing Refunds & Ticket Cancellations
You might want to issue refunds for the tickets that your donors have purchased. In order to do so please see the following instructions: Refund a sale and cancel tickets
This article provides detailed instructions on how to cancel a ticket, issue refunds, and process partial refunds in cases where donors may wish to keep a portion of their contribution despite the event cancellation.
Re-Organizing Your Forms View: Archiving Your Form
In the case that you know you will be rescheduling your event, or hosting it in the future with a similar design on the form you can simply archive your form instead of deleting it, which would mean you no longer have access to your form. Archiving allows you to keep it in your 'My Forms' section but won't be in your default view it'll be saved for later in the 'Archived' section!
📁 Archiving