Adding a manual payment
Watch the tutorial or keep reading for the steps to follow
- Log into your Zeffy dashboard on a computer.
- Click on the ''Payments'' tab under "Fundraising" in the left-hand side menu bar. At the top, righthand side of the page, click on "Add payment".
- You will be able to associate the payment with a specific form.
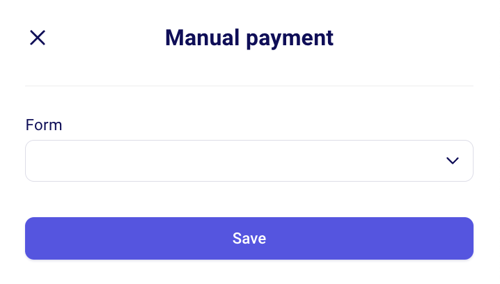
If you are associating the payment with a donation form, donation campaign, or peer-to-peer form:
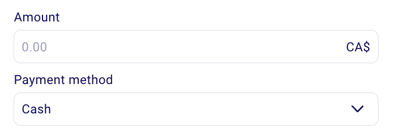
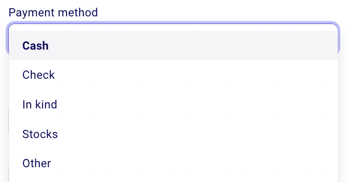
- Enter the donation amount and select the payment method that applies:
- Enter your donor's email and contact information. ⚠️ Our system is very sensitive to formatting. If you are entering an email address or telephone number, make sure that the email format, country code, and phone number are correct.
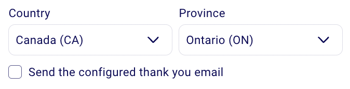
- At the bottom of the window, you can check the options "Generate a Tax Receipt" and "Send the configured thank you email".
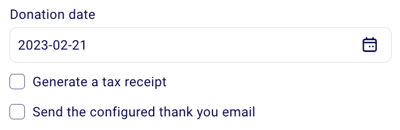
➡️ Check the option to generate a tax receipt to have one generated for this donor.
➡️ Check the option to send the configured thank you email to send your donor the same transaction confirmation that is automatically received by donors who made their transaction online. If you are generating a tax receipt, it will be included in the email.
⚠️ You can check either one or both, depending on the context.
Please also note that manual donation entries will be reflected in the total $ raised column in “my forms.”
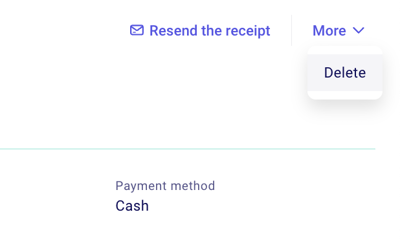
If you make a mistake, you can always delete a manual entry
- Go to "Payments" under ''Fundraising'' and click on the manual entry and a page should pop up to the right.
- Click on the "more" in the top right-hand corner of the page and on "delete."
If you are manually generating an event ticket, raffle ticket, membership or e-commerce order:
- Select the payment rate that you would like to manually add.
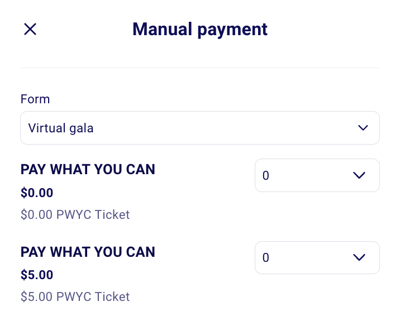
-
- Select the payment method that applies.
- Enter your buyers' contact information.You can easily find an existing contact by searching their name or email address, or create a new contact record if they’re not already in your list.

- You can then check if it is a corporate/organizational donation, and note the name of the business!
- At the bottom of the window, you can check the option "Send a confirmation email" box. This will ensure that your buyer will automatically receive their confirmation email with the tickets for your event. ➡️ This option will only show if you have added a valid email address for this buyer.
⚠️ Important:
Please also note that manual donation entries will be reflected in the total $ raised column in “my forms.”
If you want this ticket to be a free entry, you can add a 100% discount code to this order so that this ticket is counted as a free order in your account.
- First, add a discount code to your form. You can do this by going to "Campaigns" under ''Fundraising'' and clicking on edit to the right of your form.
- Go to the ''Discount Code'' step of your form editor and check the box "add discount code".
-
Add a discount code and save your changes.
- Then, generate a new manual ticket and select the form with the discount top at the top. You will see the option "Add a discount code" just above the payment method.
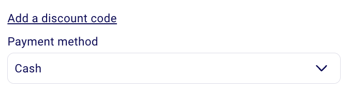
- Add the discount code that you have set and make sure to click on "check" to the right of the discount code. The code will turn green as follows if it has been added successfully!

